Well, let's just say this draft changed drastically (but for the better)!

I then drafted a new table of contents, which looked like this:

I was pretty happy with the outcome until I met with my group after spring break and had a sudden realization: the story names did not cover the full content of the magazine! (major oops) In other words, the TOC was not following the usual convention of beauty magazines of having 10-15 titles on each page of the table of contents. I had even seen this in my previous research!

So, I got to work fixing my table of contents.
Like I did while working on my cover, I reviewed all the fonts and text sizes I used on each element of the TOC and compared them to my team members' so that we all had the same styles and layout.
To fix my initial mistakes, I simply made the text size smaller, which allowed me to fit more story names. Not only did I change my whole first page of the TOC, but I also made a second page to accommodate names of stories that encompassed the 60 pages of the magazine. Initially, I had written down that there were around 47 pages, but I hadn’t taken into account that beauty magazines such as Marie Claire, Vogue, and Cosmo have around 60-70 pages in each edition. So, based on my research, I made my magazine 63 pages in length.
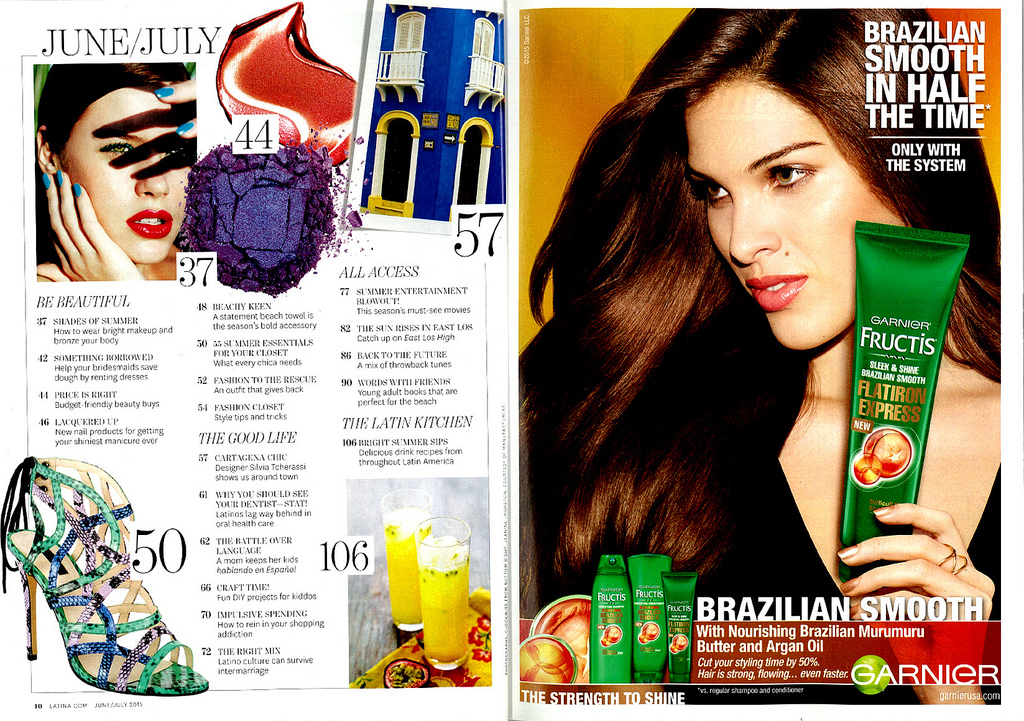
This is what resulted:

In the beginning, I didn't have enough pictures to place four pictures on each page of the table of contents, but I realized I really liked that organization instead of just two pictures on each page. So I took my sister (again) and took a few more pictures of her jeans and her shirt. I'm so glad I ended up doing the four pictures on each page because it's so organized, simplistic, and easy to read, and so that the two pages have a uniform look.
First TOC page:
Top left: Picture of my sister grabbing her hair is one that I took in Argentina that I mentioned in one of my blog posts.
Top right: This is a picture that my sister actually took of me in Markham Park, a park in my city. Catalina finally rebelled against my demands and told me that if I needed pictures so badly, that I should be the model. She also took a few more pictures of me:


Does the first one look familiar? It's because I used this picture for the second page of the TOC for a story about sunglasses.
Bottom left: For this picture, I used a lot of research that I had written about on previous blog posts, and also based on my partners' (Valentina's and Catalina's) help!
This was my set up:


I used a large ring light that my mom had to take pictures of some beauty products I had in my bathroom. I made sure to choose bottles that didn't have the brand name visible!
In my "cracking magazine photography" blog post, I had explained how magazines usually used a long, white seamless background to take pictures of products. To create this, I simply used a white printer paper and put my products on top of it.

Next, the picture that my sister took of me with the leaf over my face is one that we took in Miami when we took the initial cover picture.
Then, the pictures of the jeans and of the shirt are ones that I took of my sister when I realized I needed more pictures for the TOC.
Here are a few more that I took that day:


I made sure to keep in mind FRAMING in these pictures so that the sidewalk or the neighborhood gates couldn't be seen.
I'm actually really happy how all the TOC pictures turned out!
I then just created story names related to beauty and fashion to add to the pages.
Whew! That was a long blog post.
Thanks for reading!
Malena
Leighty, K. (2019, March 07). DIY 1: How To Build Your Own Photo Studio On a Bootstrapped Budget. Retrieved from https://www.pixelz.com/blog/diy-1-build-photo-studio-bootstrapped-budget/
No comments:
Post a Comment